This tutorial is for setting up L2TP / IPSec VPN server on SonicWALL TZ300 with Firmware version 6.5. This should work for majority of other SonicWALL firewalls as well.
- Switch to Classic Navigation Mode if not already in Classic Mode (hamburger icon in bottom left).
- Go to VPN > Settings and Enable WAN GroupVPN.
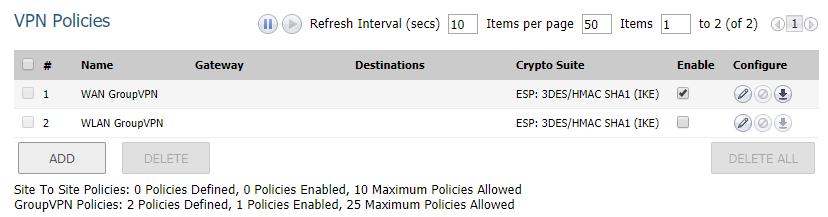
- Click Edit button next to WAN GroupVPN
- General: Set Shared Secret
- Advanced: Enable Accept Multiple Proposals for Clients.
- All other settings can be left as they are.

- Click Edit button next to WAN GroupVPN
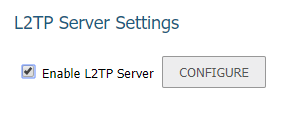
- Go to VPN > L2TP Server
- Check “Enable L2TP Server” and click Configure
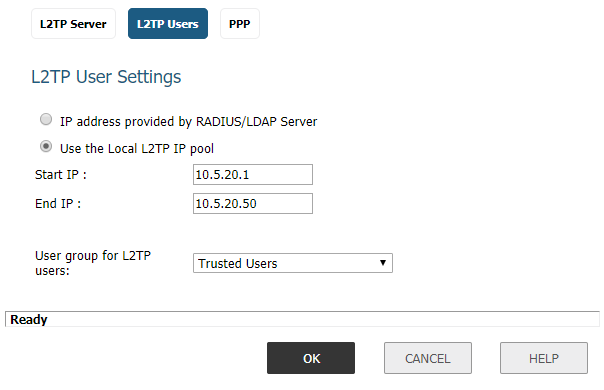
- L2TP Server:
- Enter DNS Servers (normally your internal LAN DNS)
- L2TP Users:
- Select “Use the Local L2TP IP pool” and enter IP Address range to be issued to VPN clients (this doesn’t need to be within your internal LAN subnet).
- User group for L2TP users: select Trusted Users
- L2TP Server:
- Check “Enable L2TP Server” and click Configure
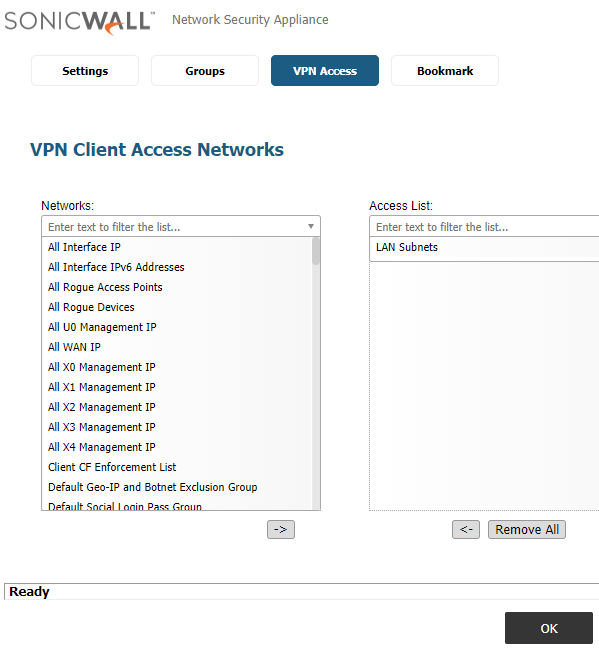
- Go to Users > Local Users & Groups > Add User…
- Settings: enter Name and Password for your VPN user.
- Group: Everyone and Trusted Users.
- VPN Access: LAN Subnets
That should be it. You can now login from any L2TP / IPSec supporting client.
Update:
I noticed that Windows 10 VPN clients seemingly takes long time to connect to SonicWALL L2TP Server. It stays on “Completing the connection” stage for 20-30 seconds.
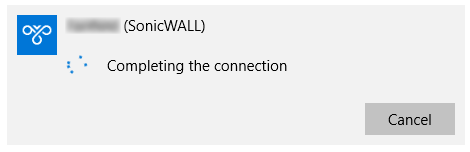
In practice this doesn’t seem to affect functionality though – VPN connection is actually established very quickly (2-3 seconds). So you can just ignore “Completing the connection” status and start connecting to internal resources straight away.
April 2018
SonicWALL TZ300
Leave a Reply