- Assign Mailbox Import Export role to yourself (can take up to 24 hour to take effect, normally around 1 hour):
- Exchange Admin Centre > Permissions > Admin Roles. Create a new role:
- Name: Import / Export
- Write Scope: Default
- Roles: Mailbox Import Export
- Members: <admin name>
- Exchange Admin Centre > Permissions > Admin Roles. Create a new role:
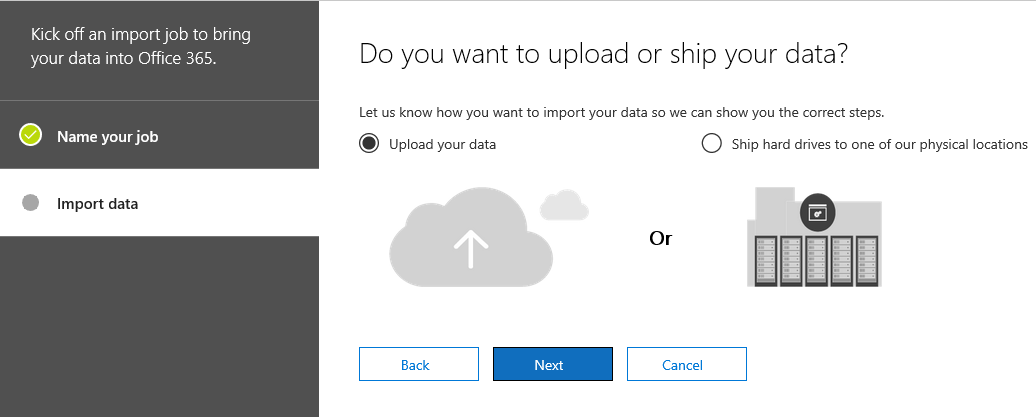
- Go to Office 365 Security & Compliance > Data Governance > Import. Click on New import job and complete a simple wizard (choose Upload your Data option).
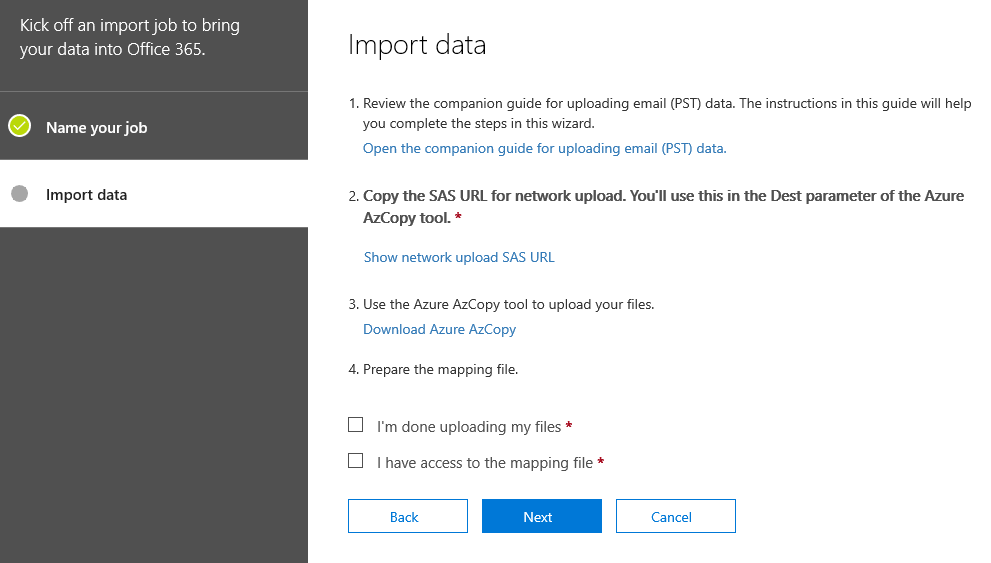
- On the last page:
- Click Show network upload SAS URL and save the URL for future use.
- Click on Download Azure AzCopy and download the Azure AzCopy
- Install Azure AzCopy on a 64bit machine with default settings.
- Open Command Prompt and navigate (cd) to “C:\Program Files (x86)\Microsoft SDKs\Azure\AzCopy”
- Run following command to upload your PST files:
AzCopy.exe /Source:”<Location of PST files>” /Dest:”<SAS URL>” /V:”<Log file location>” /Y - Wait for the upload to complete. PST files will be automatically deleted after 30 days from the last import job.

- Run following command to upload your PST files:
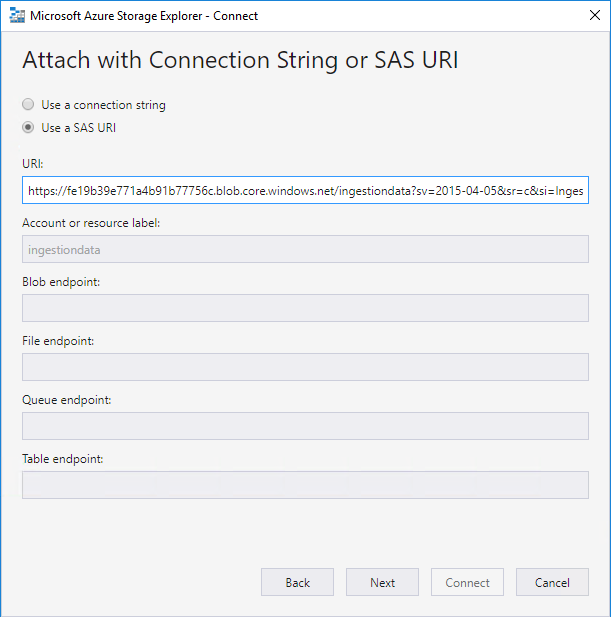
- This step is not strictly necessary, but can be helpful – Download and install Microsoft Azure Storage Explorer and verify that all .pst files were successfully uploaded.
https://azure.microsoft.com/en-us/features/storage-explorer/- Click on Add an Account > Use a connection string or a shared access signature URI > Use a SAS URI and paste you SAS URL
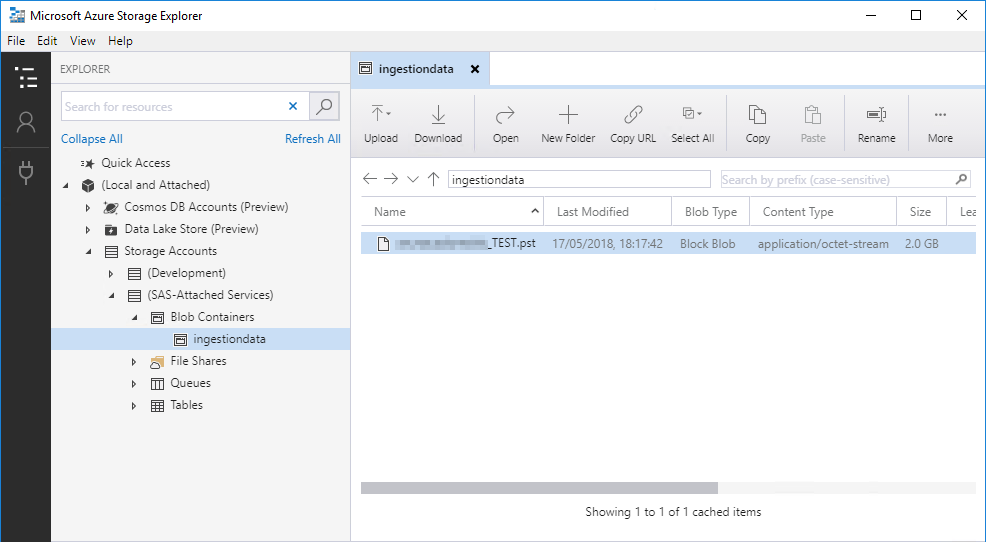
- Navigate to ingestiondata container where you should find all your uploaded PST files.
- Click on Add an Account > Use a connection string or a shared access signature URI > Use a SAS URI and paste you SAS URL
- Download PST import mapping file from: https://go.microsoft.com/fwlink/p/?LinkId=544717. I also saved a copy here.
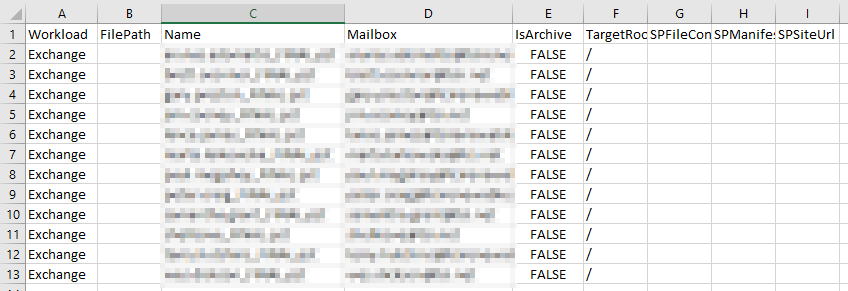
- Edit the file:
- Workload: Exchange
- File Path: <BLANK>
- Name: <Name of PST file>
- Mailbox: <user’s primary email address>
- IsArchive: False (or True if you importing to user’s online archive)
- TargetRootFolder: / (this imports directly into user’s mailbox without any subfolders folders)
- SPFileContainer: <BLANK>
- SPManifestContainer: <BLANK>
- SPSiteUrl: <BLANK>
- Go back to Office 365 Security & Compliance > Data Governance > Import and continue with the import job where you left (if the original job was cancelled, create a new one).
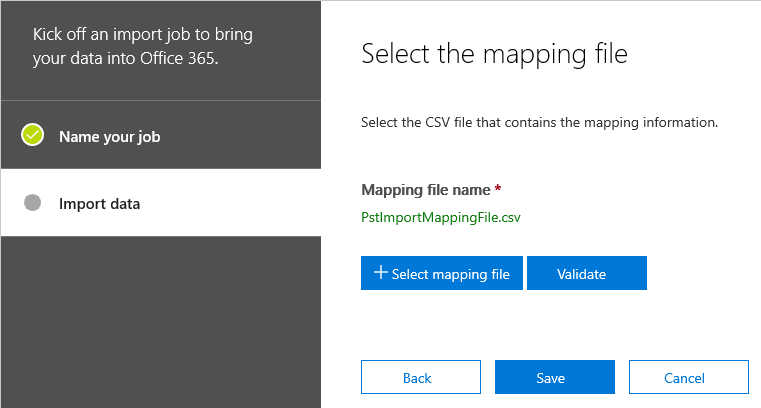
Select:- I’m done uploading my files.
- I have access to the mapping file.
- Upload PST import mapping CSV file when prompted and click Validate.
- One validation completes click Save
- Wait for Analysis to complete and click on “Ready to Import to Office 365”

- Click “Import to Office 365”, then select “No, I want to import everything” and finally “Import Data”
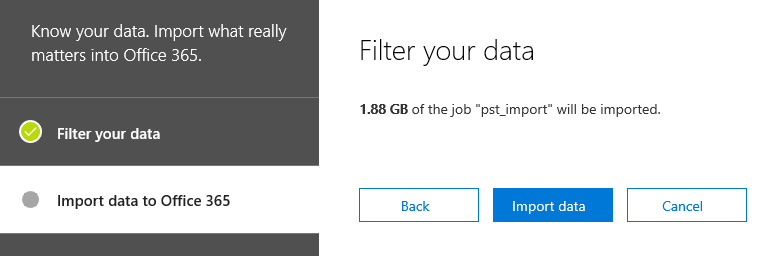
- Wait for the import to complete. Be patient, when I was importing around 10 large PST files it took 5-6 hours for the import process to begin, and then another 5-6 hours to complete.

May 2018
Office 365 / Exchange online
Leave a Reply