
I'm not an audiophile, but standard BMW stereo system sounds pretty bad to my ears. There are obviously very fancy (and expensive) audio system upgrades possible, but I decided to go with an official BMW Alpine kit. Mainly for two reasons: 1 - sound quality is considerably better than standard stereo (I'm not really interested in window shattering bass, etc). 2 - everything is plug and play and reversible - no modifications, splicing, wire cutting.
Car:
- BMW 320 (E90) Sedan
- Manufactured October 2011
- BMW Professional Stereo
Standard BMW Professional Stereo consists of:
- BMW Professional Head Unit
- 2 x front door speakers - 4'' (10cm), 4OHM
- 2 x under-seat subwoofers - 4OHM, not sure about size
- 2 x rear deck speakers - 4'' (10cm), 4OHM
Required parts:
- BMW Alpine Upgrade Kit (BMW part: 65412163268) - £360
- Door surround trim left (BMW part: 51337171201) - £25
- Door surround trim right (BMW part: 51337171202) - £25
- After the upgrade is completed, the Head Unit may require re-coding to "flatten" the built-in equalizer. BMW charges around £130 for this. In my experience BMW dealers were quite confused about this and gave me conflicting information whether the re-coding was required and why... At the end they did the "re-coding" for around £90, but I'm not convinced that it was required (or made any difference).
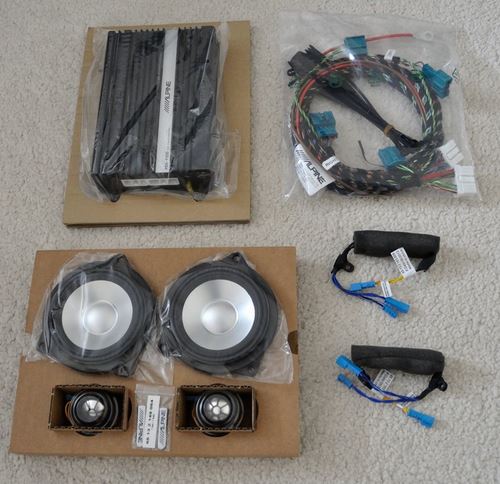
BMW Alpine Upgrade Kit ads two tweeters, replaces front door speakers with slightly better quality ones, and also ads Class D amplifier to the boot.
Here is the Alpine upgrade kit:
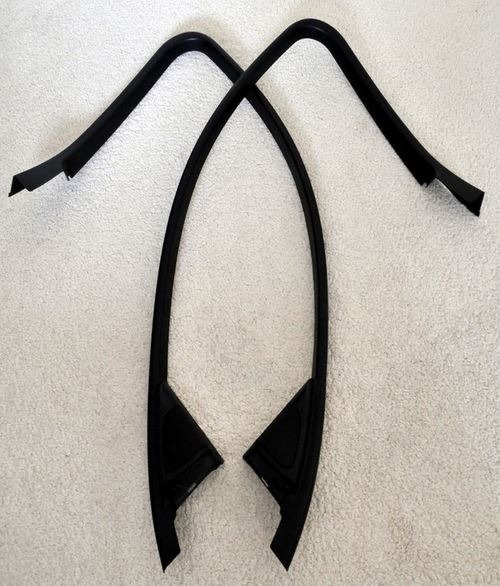
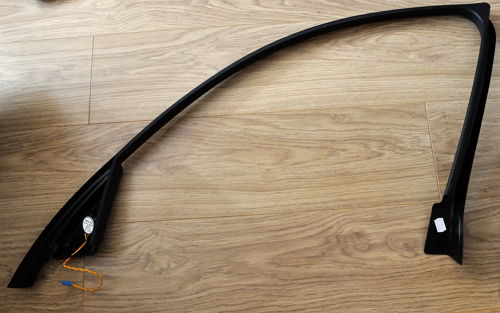
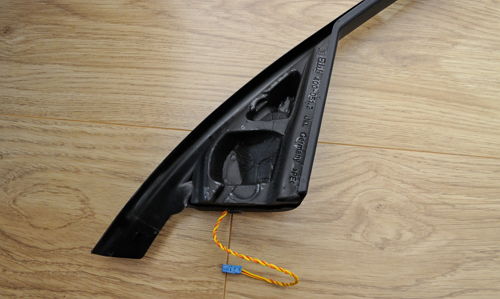
Door surround trims (this is where tweeters will go):
BMW quoted around £350 to install this kit (without re-coding), but I decided to install everything myself spend £350 on beer :)
Whole process took me about 8 hours, that's including taking pictures, making notes, and doing some Googling when I got stuck few times. If I had to do this second time, it would probably take around 3-4 hours.
I would highly recommend getting a plastic trim removal kit. These can be bough for a few £ online, but are really useful in removing various trims around the car without causing any damage to soft plastic parts.
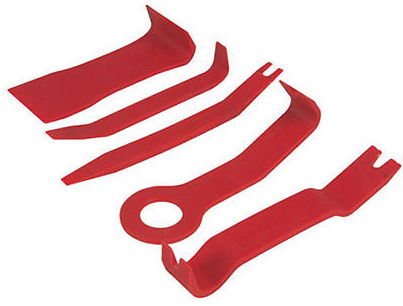
I managed to find some instructions in forums for Alpine upgrades on older E90 models, but nothing for 2010 - 2011 version. Hence my decision to create this step-by-step tutorial to help others (and myself if I ever need do something similar again).
I also used BMW installation document that I managed to find online (the kit comes without any kind of instructions). This document is intended for professional BMW technicians; it's not particular clear, but definitely helped. You can download a PDF version from here.
As a precaution it's a good idea to disconnect negative terminal of battery before starting any electrical work inside the car.
Let's start!
Remove back seat
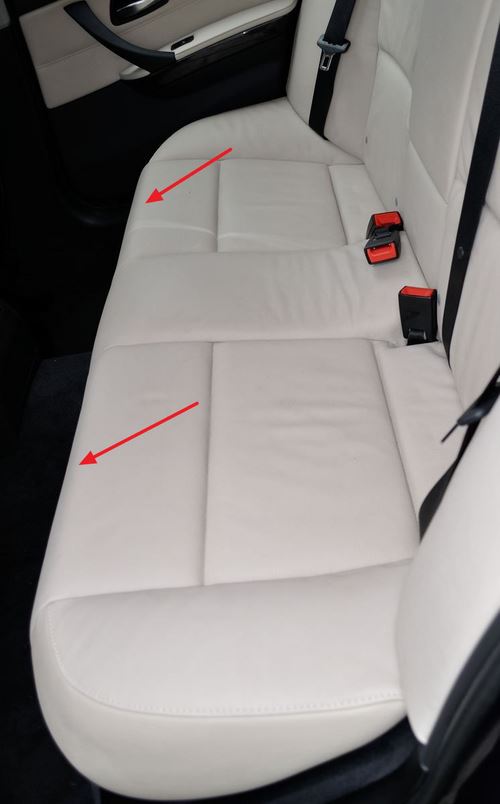
To remove bottom part of the back seat, simply pull it up around the marked area.
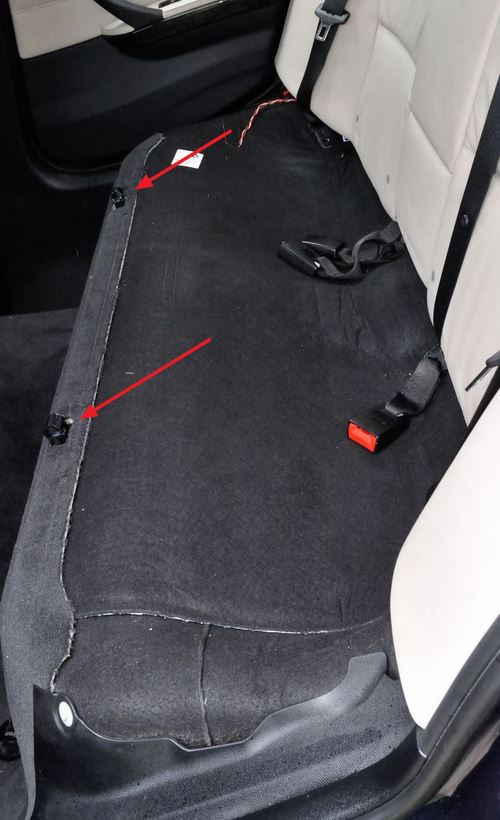
Bottom part removed. It was held in place with these metal catches.
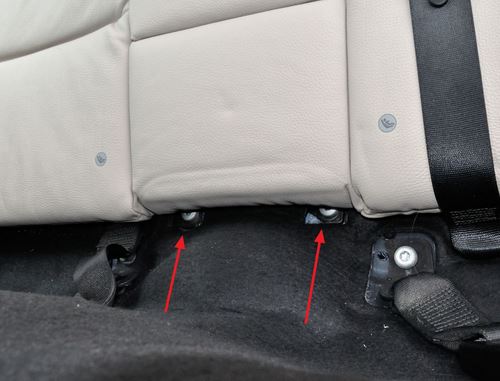
To remove back cushion, first unscrew two screws (torx size 50) located at the centre of the cushion.
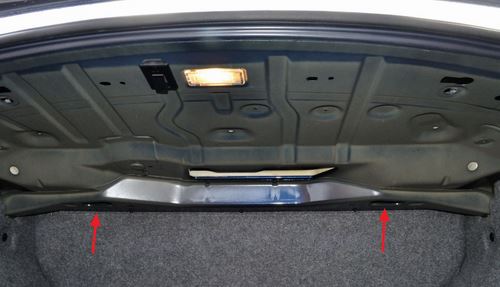
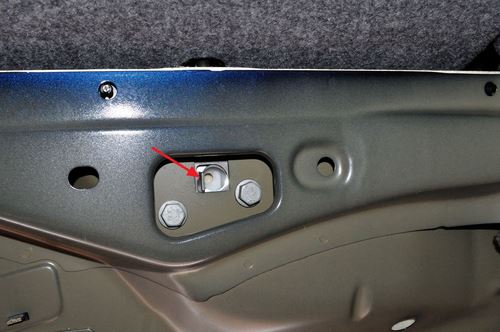
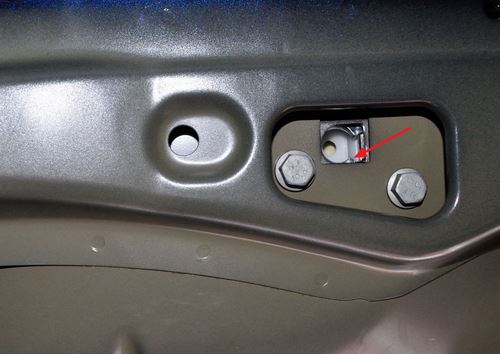
Then, to release the upper part of the rear cushion, unclip two metal hooks accessible from inside of the boot.
Just push it to the side with a flat screwdriver until you hear a release sound.
Repeat the same on the other side.
After this, simply maneuver the cushion out of the car. A help of another person helps, but is not necessary.
Remove boot trim
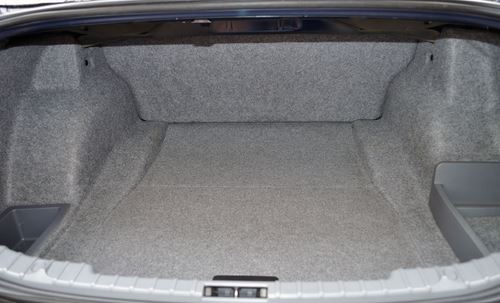
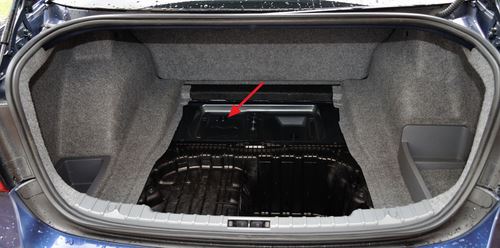
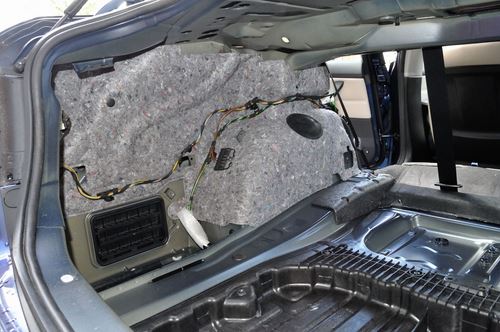
First, remove the boot floor. the arrow indicated where the amplifier will go.
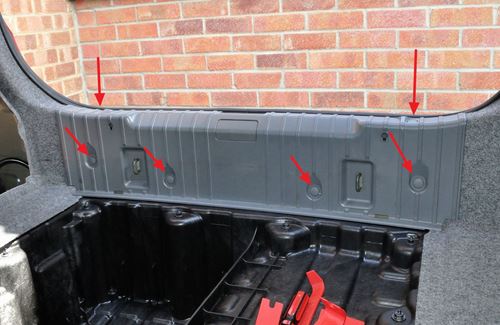
Then, remove the plastic cover from the rear side of the boot. It's held in place by two torx screws and 4 plastic clips. Always use plastic tools to remove these and other clips to avoid damage to the plastic parts.
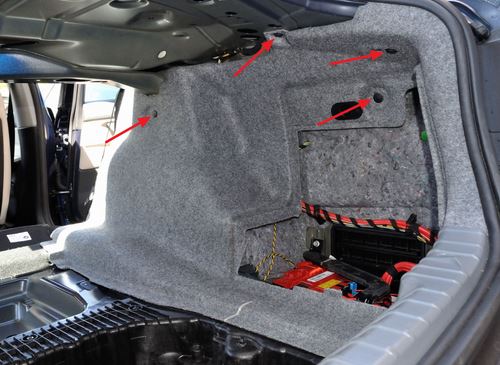
Now, remove covers from the sides. The right one is held in place by 4 black clips...
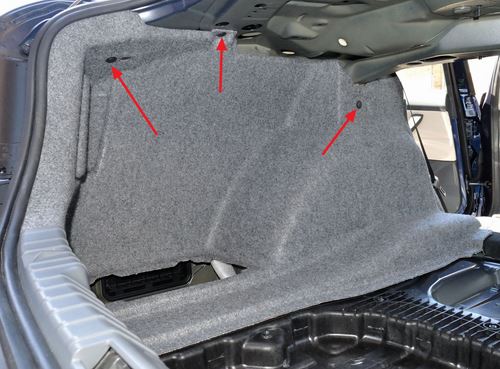
... and the left one by 3 clips.
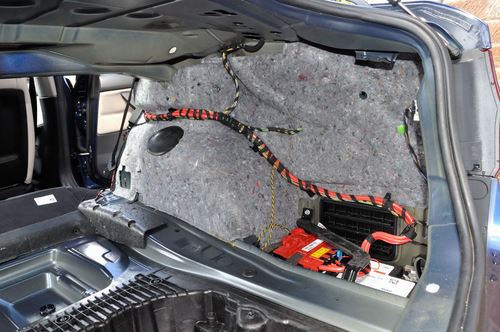
Right cover removed.
Left cover removed.
Remove inner sill covers
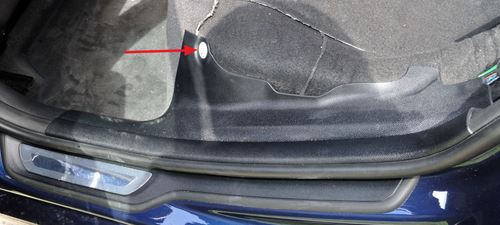
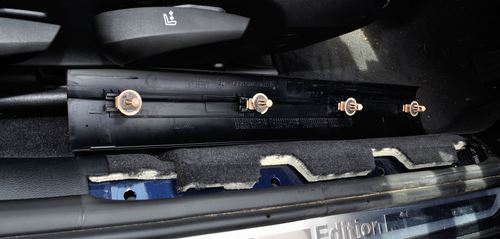
To remove rear inner sill cover, first remove one plastic clip, then simply pull the cover upwards.
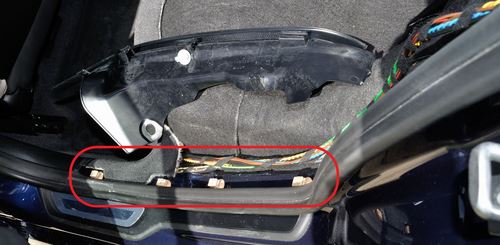
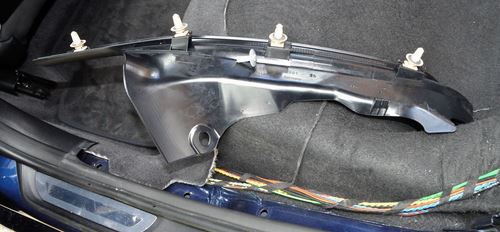
Rear inner sill cover removed. You probably will end up with 4 plastic clips disconnected from the trim and left in the metal under the cover. Remove the clips one by one...
... and put them back in the still cover.
Repeat the same for the front still trim cover.
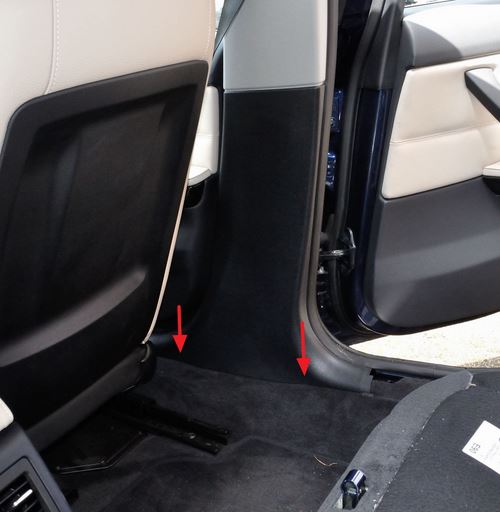
Now remove B-pillar trim. Pull the bottom part towards middle of the car. This will release two plastic clips. Once bottom part is loose, slide the trim downwards to disconnect the top part.
B-pillar trim removed.
Remove the same trims from other side of the car.
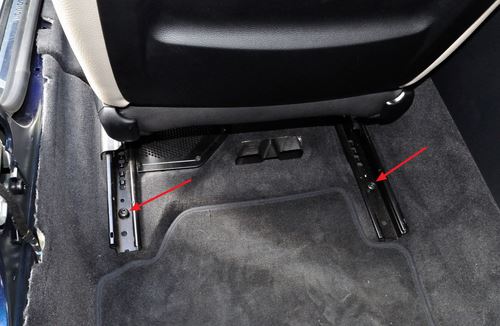
Loosen front seats
There is no need to completely remove front seats and you should not disconnect any wires under the seats.
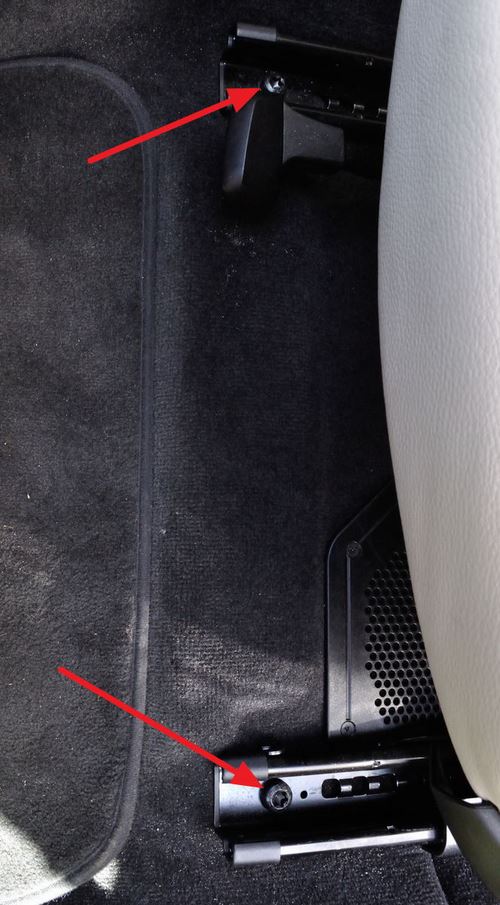
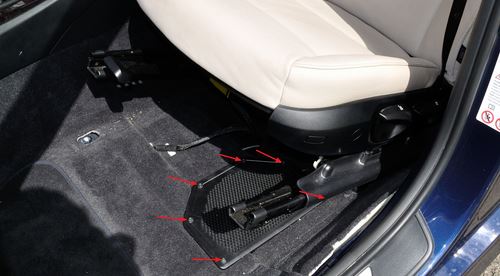
First remove 2 x 50'' torx screws at the front.
Then remove another 2 x 50'' torx screws at the back of the front seat.
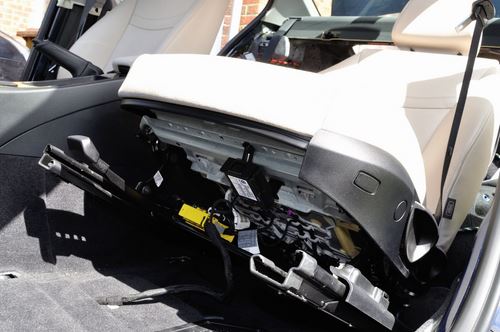
Now, simply recline the released seat backwards taking care not to stretch any under-seat cables. Also check where back of the sear rests to avoid scratches from metal rear seat catchers.
Repeat for the other seat.
Remove bass speaker cover
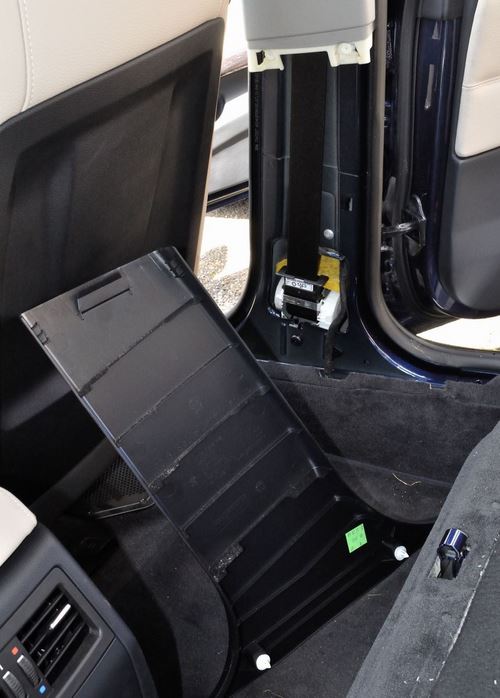
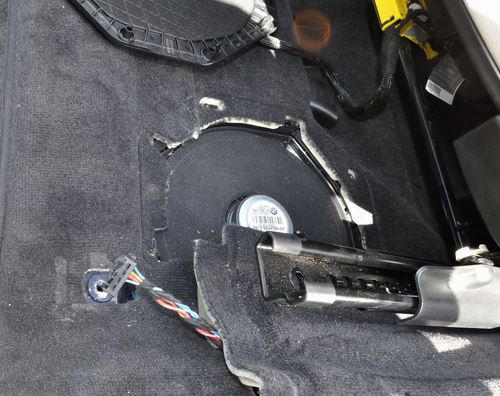
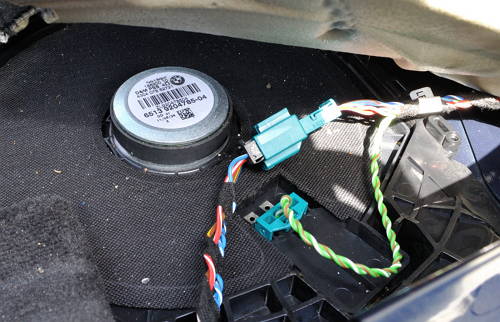
Unscrew 5 small screws to open bass speaker cover and disconnect the subwoofer cable.
Bass speaker cover removed.
Repeat on the other side...
Install new wiring
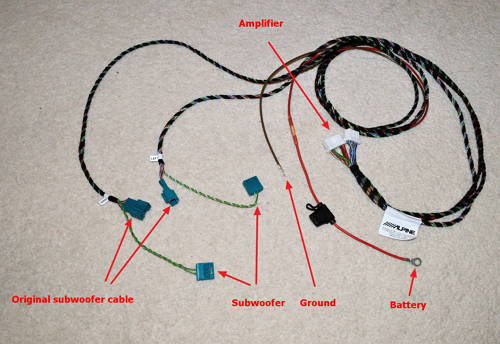
This is the retrofit wiring loom that will connect the amplifier to subwoofers and power. I added explanation where each cable connects.
Now just lay the wiring in place. It should be pretty straight forward as you already removed all trims that can get in a way.
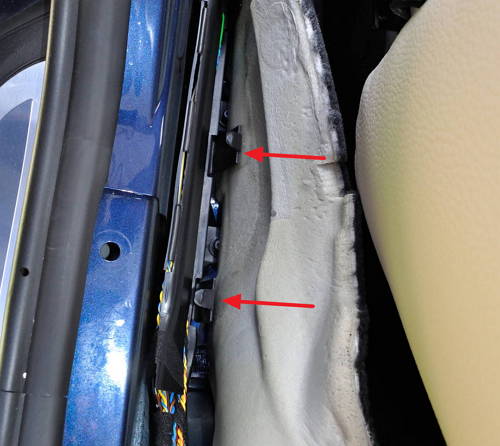
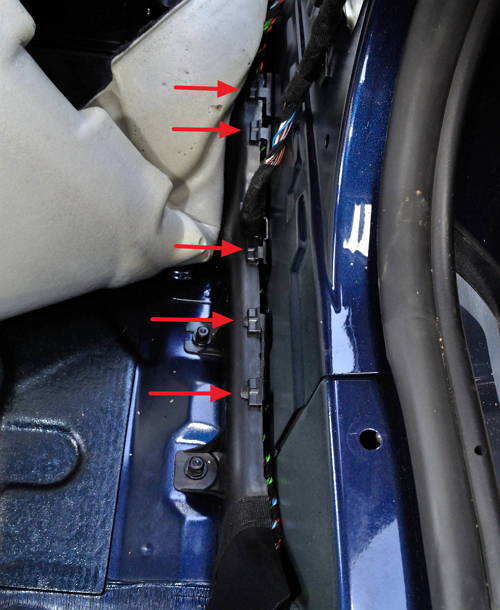
To run the cable between read and front doors, you need to undo few plastic clips and slightly open a black plastic cable covering. It's a bit tricky to undo these clips, but this allows to run your new cables with the existing wiring loom without the risk of getting them snapped in the future.
The cover looks slightly different on the other side, but idea is the same.
Remove original cable subwoofer cable and connect to into a blue adapter (it will carry signal to the front door speakers). Other blue connector goes into the subwoofer.
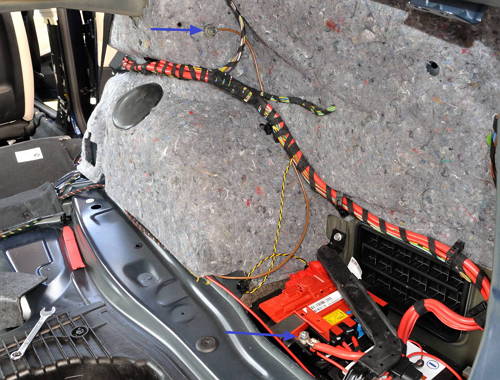
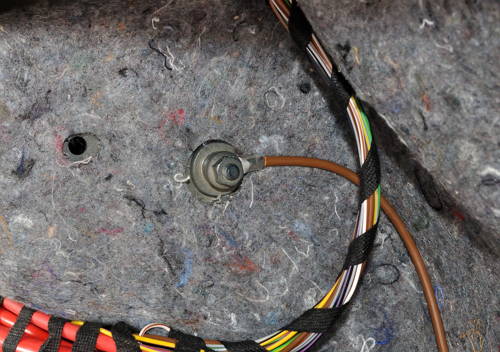
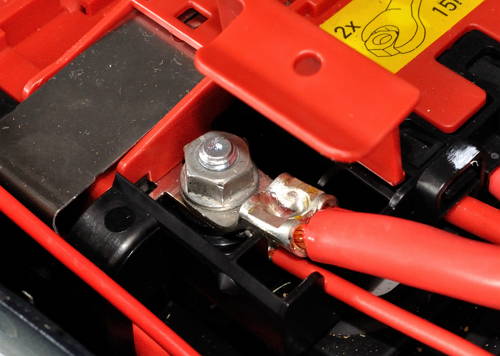
Now connect the ground and positive cables.
The ground/earth brown wire goes under 10mm nut.
Red positive wire connects under 15mm nut inside the battery's fuse box.
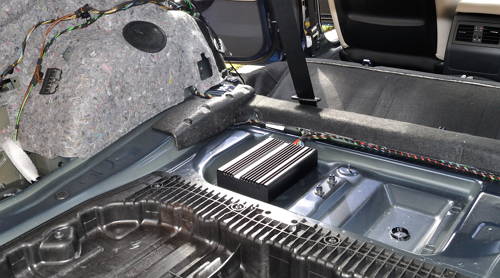
Connect the amplifier. On the bottom of the amplifier there is a small switch with two positions - 1 and 2. According to the BMW manual it should be set to position 1.
At this point you may want to temporary re-connect battery's negative terminal and ensure that the amplifier and speakers are working properly.
OK, now it's time replace front doors speakers and install tweeters.
Remove front door panel
Before starting fully open front windows, this will help when installing new door surrounds trims.
Images below are from the passenger side door. The only difference on the driver side is lack of a door handle (and hence one less fastener to undo).
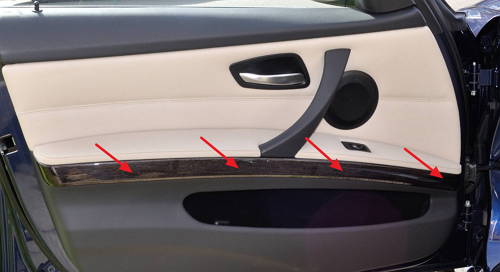
First remove a "wood effect" trim piece using plastic trim removal tool or just your fingers. Start from the door hinge side and work your way towards outside. Do not try to start from the opposite side as the trim has a small plastic hook there.
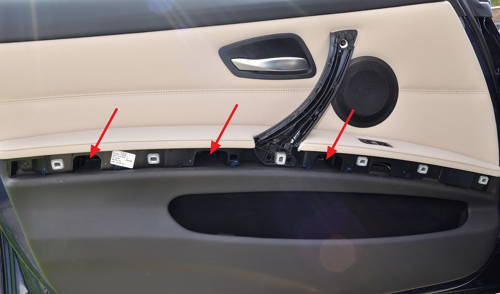
This trim is held in place by 7 metal screws that work as clips in this case. The plastic hook I mentioned previously can be seen on the left hand side.

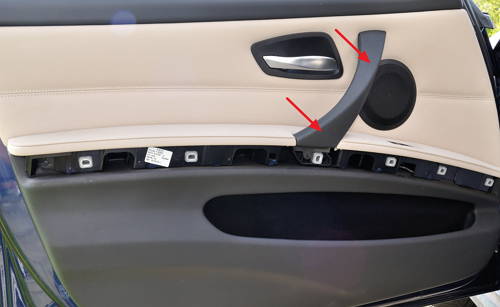
Remove door handle trim. Easiest to remove starting from the bottom.
Remove 4 x T20 torx fasteners. Then remove whole door panel trim starting from the lower right corner. It's held in place by number of plastic clips. Check if any of the clips left inside the door frame and if so remove them and put back into the trim peace. Replace any broken clips (I managed not to break any).
Once the door panel trim is released you will need to disconnect number of connectors from the door panel trim: speaker, entrance light, window control switch and door release handle. The most difficult to remove was window control connector. Door release handle should be disconnected from the trim side (not door frame).
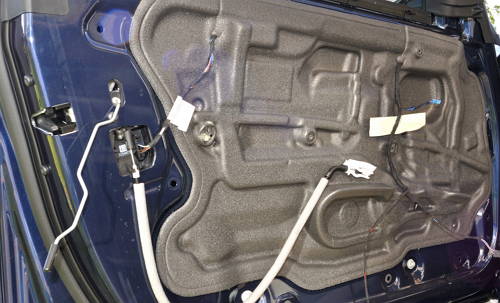
Remove door surround trim. Start from the lover corner next to the mirror and work your way around the door frame.
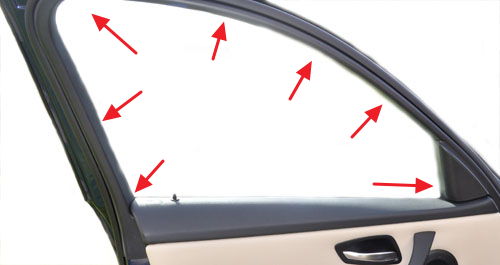
Repeat everything on the other driver side.
Install replacement front door speakers
The new Alpine front door speakers are direct replacement for the old ones.
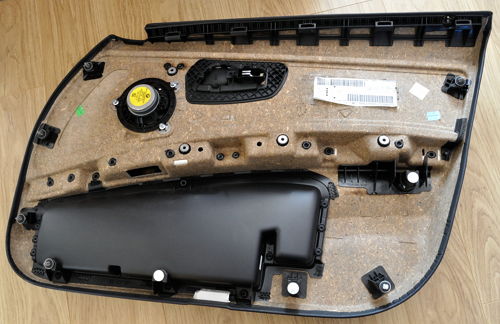
Front door panel with original mid-range speaker.
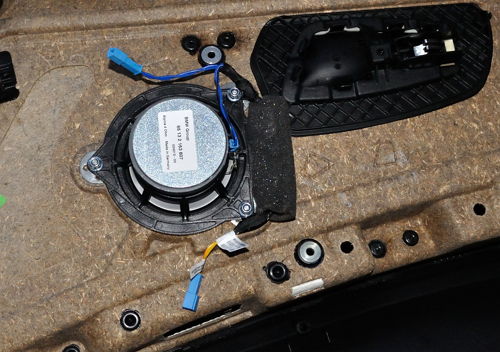
Undo 3 small nuts and install a new speaker. Attach a crossover (diplexer) to two of the bolts. One of the blue wires from the crossover connects to the new mid-range speaker. Remaining blue and yellow wires have exactly the same connector. One connects to the original mid range speaker cable coming from the amplifier, other - to a new tweeter. In my case, yellow wire had a label "Radio/Head Unit", but this was incorrect! The yellow wire, labelled as "Head Unit" had to be connected to a tweeter and the blue wire with no label - to the original speaker wire coming from HU/Amplifier. This actually matches colours or the cables (tweeter wire is yellow and HU wire is blue). If you connect these wires wrong way around (as I initially did), there will be almost no sound coming from the mid range speaker and way too much sound coming from the tweeter. Make sure you test before putting everything back together.
New mid-range speaker with the crossover. This photo was taken before I figured out that yellow cable was labelled incorrectly by manufacturer. It makes more sense to install the crossover with yellow (tweeter) cable facing upwards.
Push a tweeter into your new door surround trim. It should go in with a little click and stay there securely.
Don't forget to put a foam insulator cover taken from the old door surround trip.
Now all is left is to put everything back and enjoy much improved sound!



Hey,
I just wanted to give you a huge thank you for writing this so well and with pictures! i followed this 2 years ago and managed to do the retrofit all by myself at home thank you sir!!!!
I am now going to complete the last part with the cross overs on my door cards i forgot to do that last time around!